
Dottie + Bloom Part 3
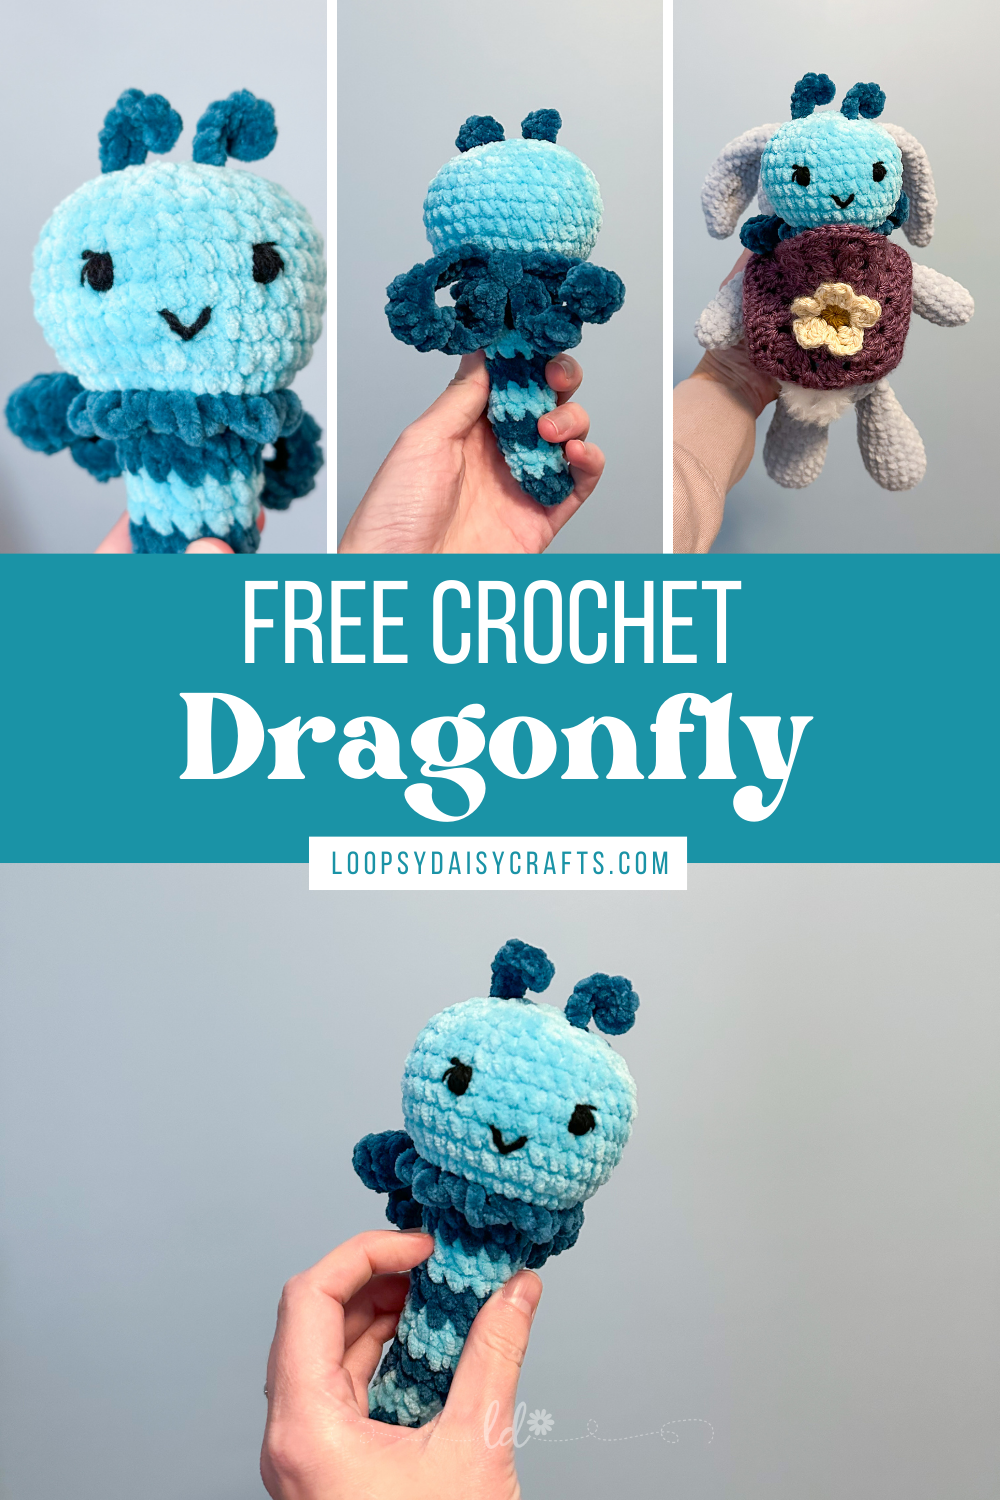
Dottie and Bloom is split into 3 parts. Dottie is a sweet bunny with floppy ears. She wears a flower backpack so she can carry around her dragonfly friend, Bloom. Part 3 is Bloom the Dragonfly.
This pattern is split into 3 parts.
Part 1 HERE includes the materials, notes, and Dottie the Bunny.
Part 2 HERE provides instructions for the flower bag.
Part 3 is the pattern for Bloom the Dragonfly.
***You can purchase an INEXPENSIVE PDF of this pattern on Etsy or Ravelry! There is a color version with pictures as well as a black & white printable version included. The pdf includes a diagram for the dragonfly frills.
Some of the links in this post may be affiliate links, meaning I may receive a small commission, at NO ADDITIONAL cost to you, from purchases made using the links provided. Please click here for more information.
Important:
This pattern is for personal use only. Please do not copy, share, translate or reproduce this pattern. You are welcome to sell finished items from this pattern, but please give me credit (Krissy of Loopsy Daisy Crafts + Designs). I would love to see your finished pieces. Please tag me with @loopsydaisycrafts and use #loopsydaisycrafts on social media.
For any questions or concerns regarding the pattern, please email hello@loopsydaisycrafts.com
PART 3 - BLOOM THE DRAGONFLY
The specific yarn I used is included in Part 1 HERE. Starting at the tail and working up to the head. The dragonfly is low sew, meaning everything except for the wings will be attached as you go. If you would rather attach the antennae separately, see below. When changing colors, drop color and pickup new color. I like to keep my color changes in a straight line (picture 30). Sometimes I will work one or two stitches past the st marker in order to keep the color changes straight up and down. I don't carry the yarn. Stuff as you go.
Using a 4mm hook and teal
Rnd 1: with teal, sc 4 in mc (4 sts)
Rnd 2: [sc, inc] x 2 (6 sts)
**Chg to turquiose
Rnd 3: sc in each st (6 sts)
Rnd 4: [2 sc, inc] x 2 (8 sts)
**Chg to teal
Rnd 5: sc in each st (8 sts)
Rnd 6: [3 sc, inc] x 2 (10 sts)
**Chg to turquiose
Rnd 7-8: sc in each st (10 sts) •• 2 rounds ••
**Chg to teal
Rnd 9: [4 sc, inc] x 2 (12 sts)
Rnd 10: sc in each st (12 sts)
**Chg to turquiose
Rnd 11: sc in each st (12 sts)
Rnd 12: [5 sc, inc] x 2 (14 sts)
**Chg to teal
Rnd 13: sc in each st (14 sts)
Rnd 14: [6 sc, inc] x 2 (16 sts)
**Chg to turquiose
Rnd 15: sc in each st (16 sts)
Rnd 16: [7 sc, inc] x 2 (18 sts)
Rnd 17: with turquiose, sc 1 in the BLO of the next st. Place a st marker in this st and remove hook. Pull up loop in the FLO of this st in teal (picture 31). Continue working in the FLO for this rnd. F/O teal. Begin stuffing.
FLO Rnd: *(Ch 3, sl st in next st, sl st in next st)* repeat *to* 8 more times for a total of 9 small loops.
BLO Rnd: Pick up turquiose from BLO (picture 32). Sc in the first st. Sc inc in each remaining st. (36 turquiose sts) (picture 33)

Rnd 18-22: With turquoise, sc in each st (36 sts) •• 5 rounds ••
**Continue stuffing as you go through the last rnd.
Rnd 23: [4 sc, dec] x 6 (30 sts)
Rnd 24: [3 sc, dec] x 6 (24 sts)
Rnd 25: [2 sc, dec] x 6 (18 sts)
**The antennae will be made in the next rnd. Do not cut yarn when changing colors. Drop yarn and pick it back up loosely for second antennae. Take care that the antennae are centered keeping the color change in the back. Adjust st marker if needed. If you would rather crochet the antennae separately, see below.
Rnd 26: sc, dec, sc, dec. Chg to teal.
For the first antennae, sc in the next st and ch 5. Sc 4 in the second ch from hook, sl st in each ch.
Chg to turquoise in the same st. Dec, sc, dec. Chg to teal.
For the second antennae, sc in the next st and ch 5. Sc 4 in the second ch from hook, sl st in each ch.
Chg to turquoise in the same st. Dec, sc, dec. (12 sts - not including antennae chs) (pictures 34 & 35)
**F/O teal yarn and tie ends together loosely. Hide tails inside. Stuff.
Rnd 27: dec x 6 (6 sts). Stuff and F/O. (picture 36)

WINGS
Using a 4mm hook and teal
The wings are constructed in rows. The wings will be formed in one piece like an “x” with the top wing longer than the bottom. Trust the process. Leave a long beginning tail, about 10."
Row 1: Ch 12.
Wing 1 - Row 2: Dc in the 3rd ch from your hook. 3 dc, 3 hdc, 3 sc (10 sts)
Row 3: Ch 8. (picture 37)
Wing 2 - Row 4: Dc in the 3rd ch from your hook. Dc, 2 hdc, 2 sc (6 sts) (picture 38)
Row 5: Ch 8. (picture 39)
Wing 3 - Row 6: Dc in the 3rd ch from your hook. Dc, 2 hdc, 2 sc (6 sts) (picture 40)

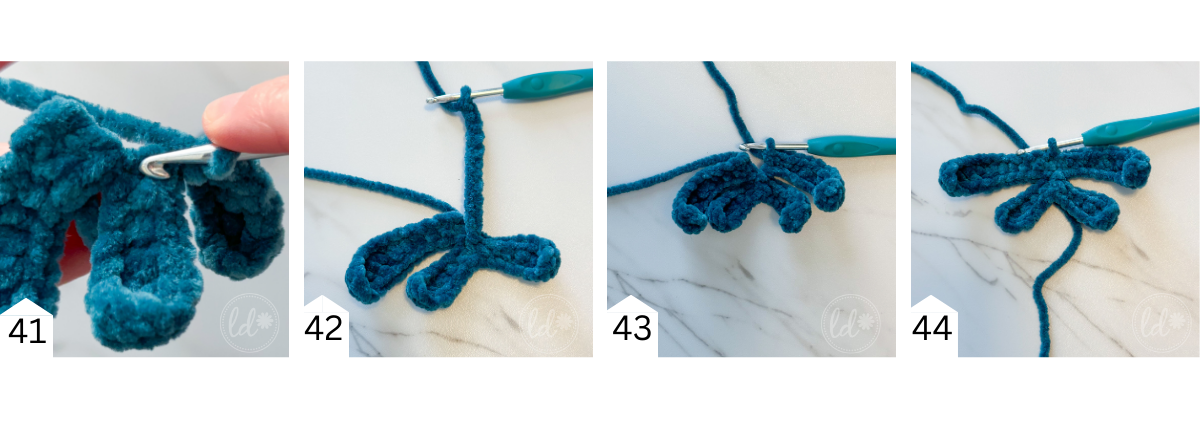
** Sl st into the top of wing 2. (picture 41)
Row 7: Ch 12. (picture 42)
Wing 4 - Row 8: Dc in the 3rd ch from your hook. 3 dc, 3 hdc, 3 sc (10 sts) (picture 43)
** Sl st into the top of wing 1. (picture 44)
Leave a long tail (approximately 30") to wrap around the center of the wings and to attach to the dragonfly. F/O. Use both tails to wrap around the center of the wings 2-3 times. This is personal preference. Secure the yarn with a knot so it doesn’t come undone. Using both tails, sew the wings to the back of the dragonfly on rnd 17 (pictures 45 & 46). Pictures and assembly are below.

ASSEMBLY
• Attach wings on the back over rnd 17. The back shows the color chgs from rnds 1-16 of the tail. Slightly bend the tail to shape.
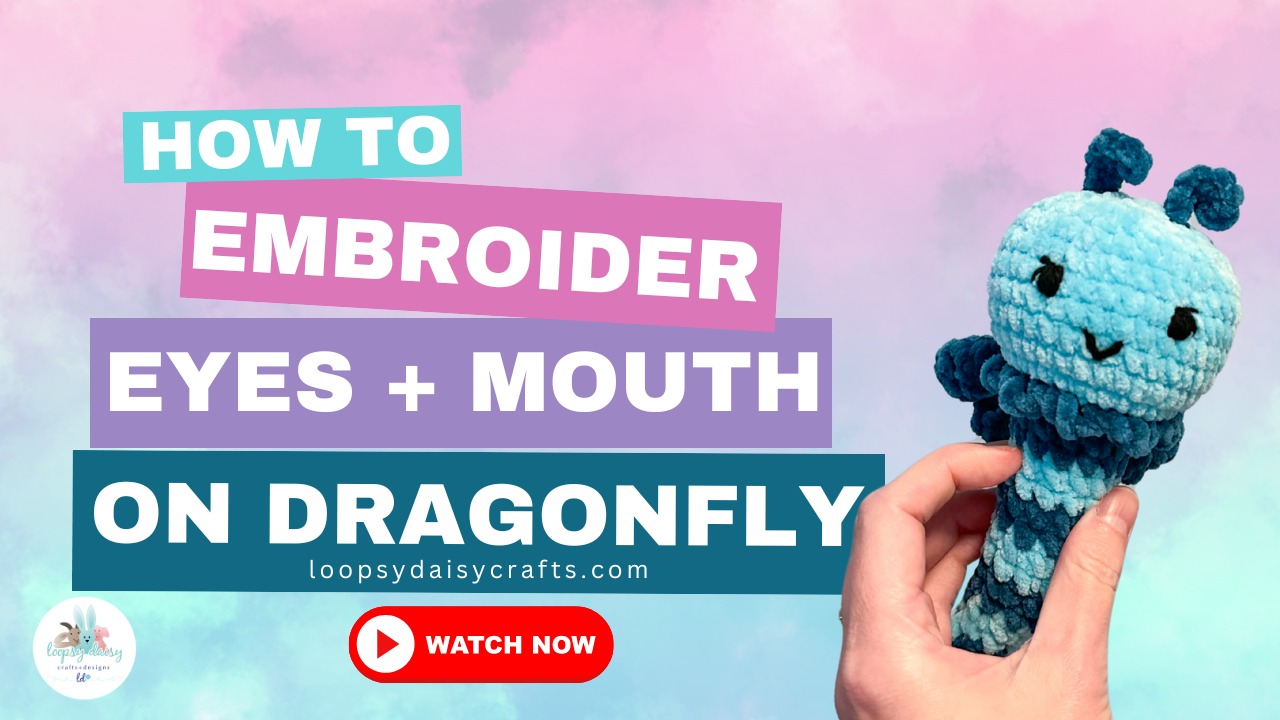
• Embroider the mouth in a “v” shape across 2 sts over rnd 19.
• Embroider the eyes over rnd 21 about 4 or 5 sts apart. There is also a video tutorial for the eyes & mouth on Youtube WATCH HERE.
The dragonfly is finished! I hope you had fun crocheting this pattern! It’s the best seeing photos of your work. Tag me on social media @loopsydaisycrafts and use #loopsydaisycrafts.
If you enjoyed this pattern, be sure to subscribe to my newsletter to stay updated on new pattern releases, exclusive discounts, and freebies! If you have any questions or concerns regarding the pattern, please email hello@loopsydaisycrafts.com or comment below.